Serves10
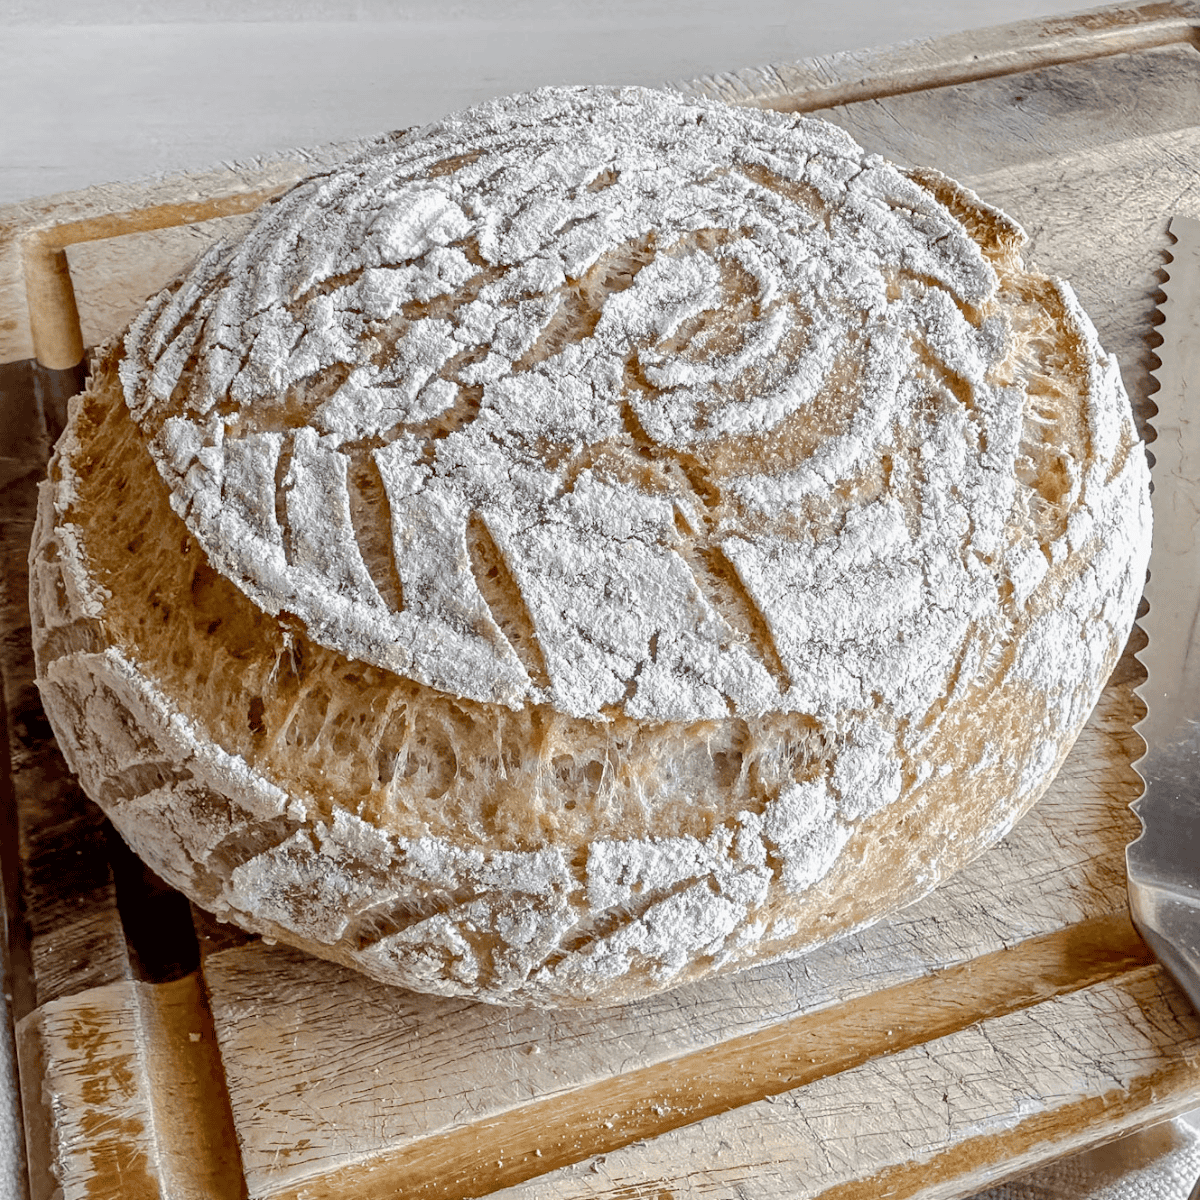
Gluten Free Sourdough Bread
From google.com
Serves 10Prep: PT15M · Cook: PT60M · · Total: PT795M
Ingredients
- 400 g King Arthur's Gluten-free Measure for Measure Flour
- 60 g Brown Rice Flour ((about 1/2 cup minus 1 tablespoon))
- 12 g Sea Salt ( (1 Tablespoon))
- 500 grams Warm Purified water ((2 cups + 2 tablespoons)) [Original amounts; scale each quantity separately]
- 20 grams Whole Psyllium Husk (or 2 Tablespoons + 2 tsp (If using psyllium husk powder, use only 16 grams.) ) [Original amounts; scale each quantity separately]
- 90 g Gluten Free Sourdough Starter ((Recently Feed) (a little less than 1/3 cup))
- 14 g Olive Oil (optional (about 1 Tablespoon))
Instructions
Mix the Gluten Free Sourdough Bread Dough
- Timing Tip: I usually feed my gluten free sourdough starter around 5-6 pm, when I'm in the kitchen making dinner. Make sure it is thick and paste like.
- First, start with an active and recently feed gluten free sourdough starter. You want to use it when it is at it's peak of activity/ rise and hasn't fallen, usually 4-6 hours after being fed.
- Prepare the Psyllium Gel: In a medium bowl, whisk together the warm purified water and whole psyllium husk.Set the mixture aside to sit for about 5 minutes, until it forms a thick gel.
- Mix the Dry Ingredients: In the bowl of a stand mixer, add the Measure for Measure Gluten Free Blend, Brown Rice Flour and Salt.Stir briefly to combine the dry ingredients evenly.
- Combine the Wet Ingredients: Add the active gluten-free sourdough starter and olive oil (if using) to the psyllium gel.Mix all the wet ingredients together until everything is well combined.
- Mix the Dough: Pour the wet mixture into the bowl of the stand mixer with the dry ingredients.Attach the dough hook and mix on speed 2–3 for about 7 minutes, until the dough is smooth and fully combined.
- Do not add extra water at this point. The gluten-free flours will continue absorbing moisture as the dough mixes. If at the very end of mixing, it still looks like it has dry spots, add a few drops of water at a time
- Shape the Dough: Turn the dough out onto a clean work surface.
- Gently shape it into a round loaf using lightly damp hands if needed to prevent sticking. Use circular motions to build tension to the sides and bottom of the loaf to close gaps and seams.
- Prepare the Banneton Basket: Line a banneton basket with a clean towel or lightly dust it with brown rice flour.If you don’t have a banneton basket, a medium mixing bowl lined with a towel works well.
- Place the shaped dough seam-side up into the prepared basket.
- Proof the Dough: Cover the dough with plastic wrap (if you live in a dry climate) and then fold the towel over the top.
- Let the dough bulk ferment and proof overnight at room temperature.
- If your kitchen is very warm, or you wish to bake later the next day, you can place the dough in the refrigerator overnight to slow the fermentation.
- The dough will not double in size but should look slightly puffed by morning.
The Next Day
- Preheat the Oven: In the morning, place a Dutch oven with its lid on the middle rack of your oven.Preheat the oven to 425°F (218°C) and allow the Dutch oven to heat for 45 minutes.
- Tip: If your bread typically develops a tough bottom crust, place a sheet pan on the rack below the Dutch oven to diffuse the heat.
- Score the Loaf: Turn the dough out onto a sheet of parchment paper.Use a sharp knife or bread lame to slash the top of the loaf. This directs the steam and controls how the bread rises during baking.
- For the main score, make a cut about ½ inch deep with the blade held straight down. Then go over the same cut again, this time holding the blade at about a 45° angle. This second angled pass helps create a classic sourdough “ear” as the loaf expands in the oven. The rest of the scoring is for decoration.
- Bake Covered: Carefully remove the hot Dutch oven from the oven.Lower the loaf (on the parchment paper) into the Dutch oven.Cover with the lid and bake for 50 minutes.
- Bake Uncovered: Remove the lid and continue baking for 10-15 minutes, until the crust deepens in color.
- Check Internal Temperature: The loaf is fully baked when the internal temperature reaches 210–215°F (99–102°C).
- Cool Completely: Remove the bread from the Dutch oven and place it on a wire cooling rack.Allow the loaf to fully cool before slicing. Gluten-free sourdough bread needs time to set its crumb, and cutting too soon can make the interior gummy.